Creating a simple videomapping
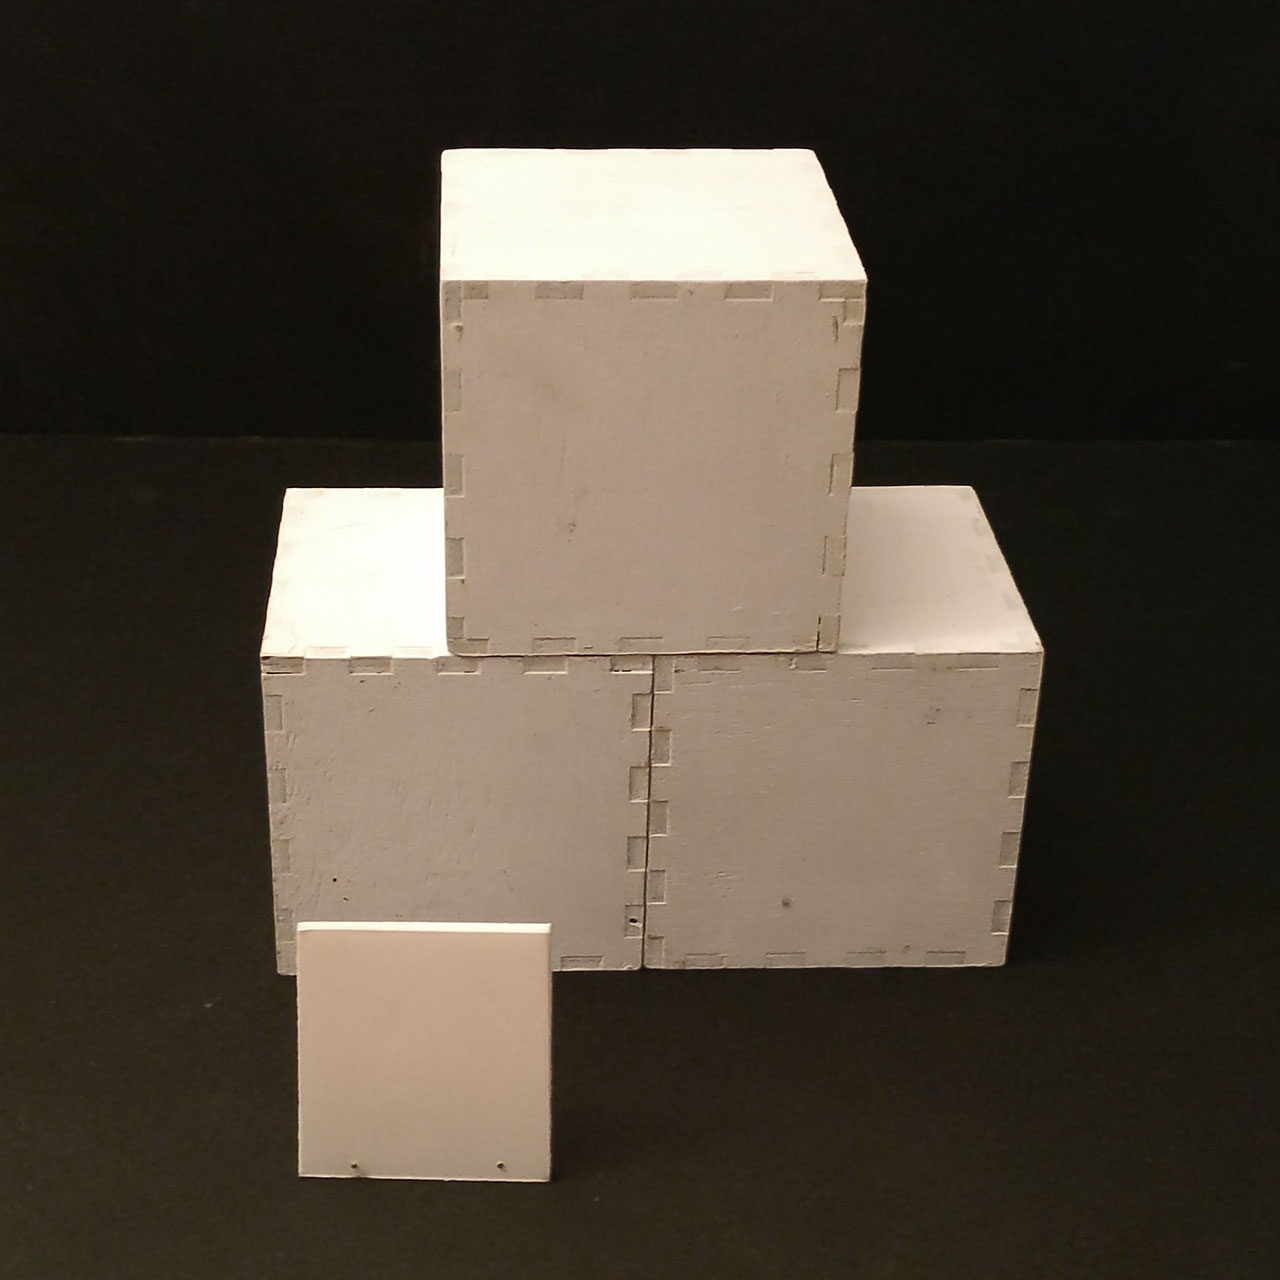
In this tutorial we will create a simple video-mapping on a stack of cube :
![]()
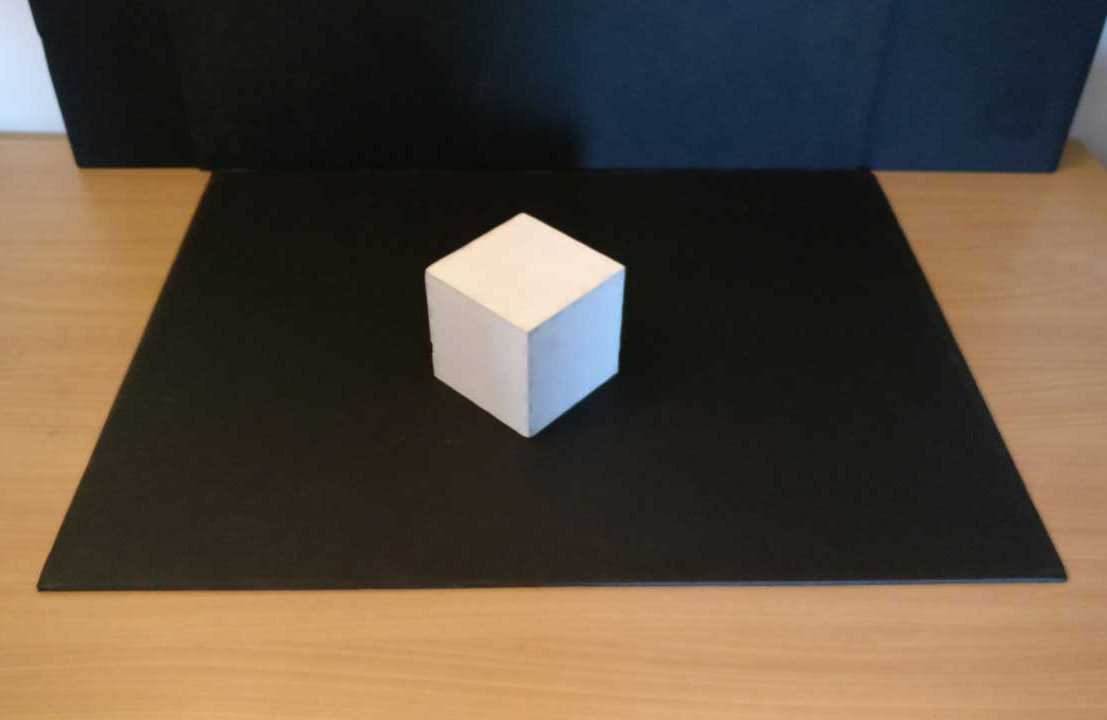
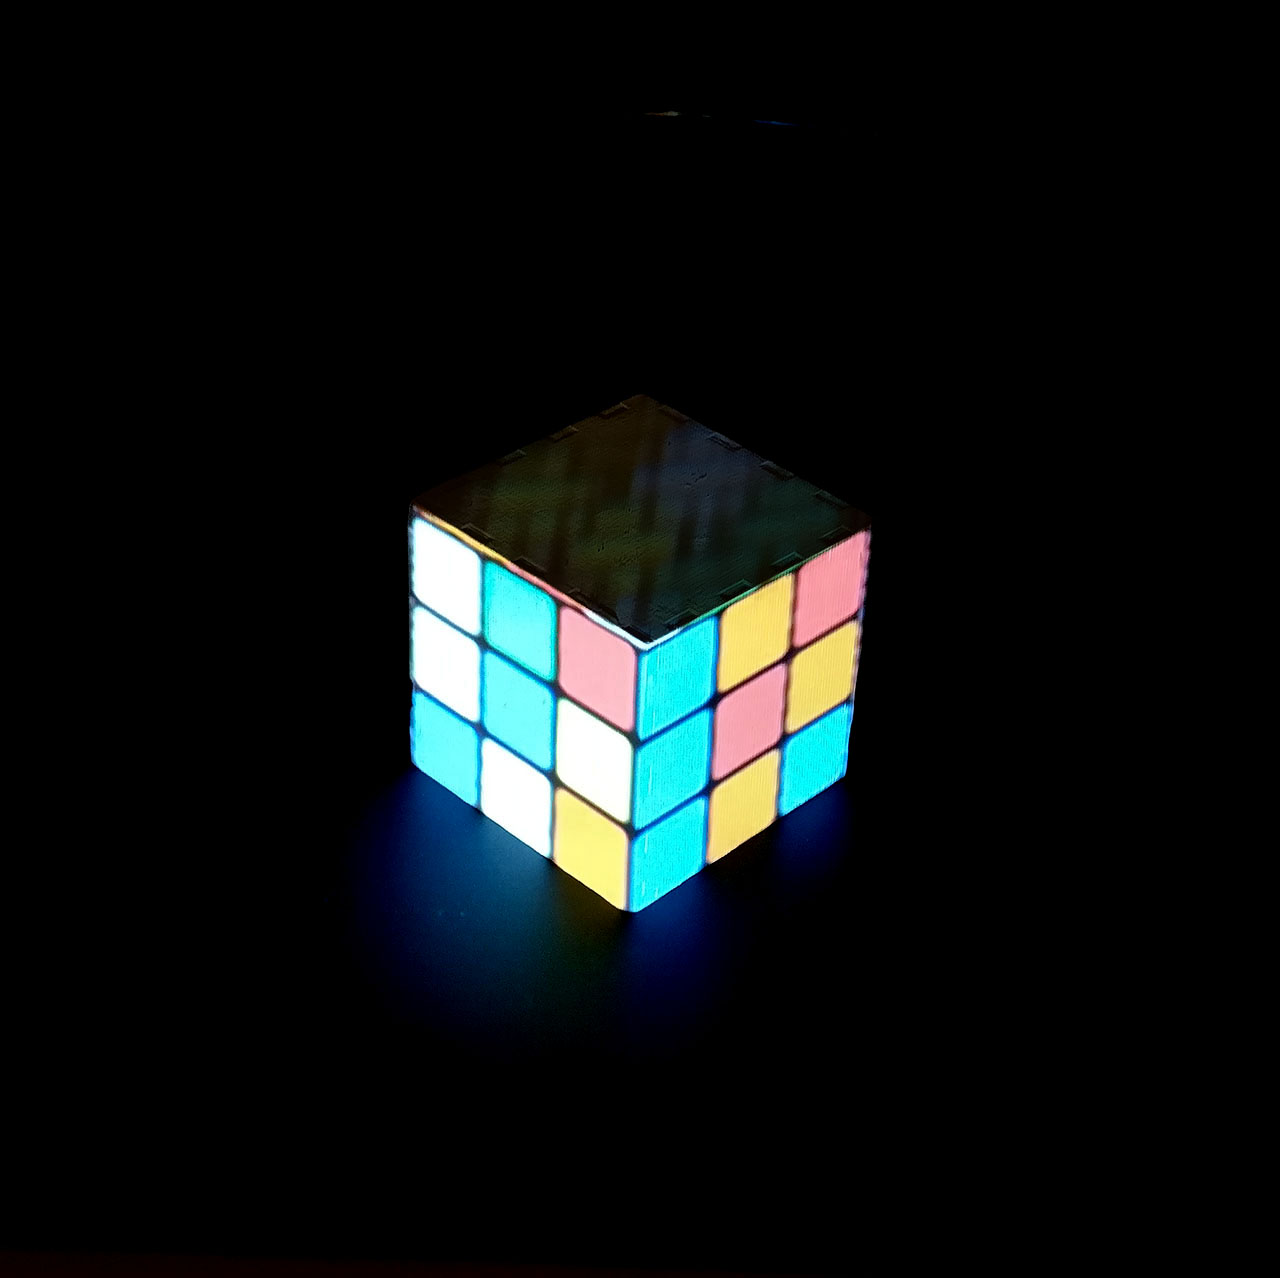
For now, we will begin with just one cube :
![]()
We will work face per face. Drag and drop your media in the layer.
The default interactions in the workspace allow you to move, rescale and rotate your media. Use them to replace it on your cube :
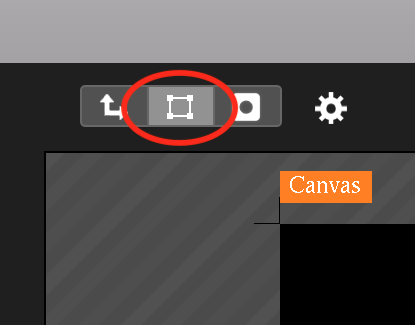
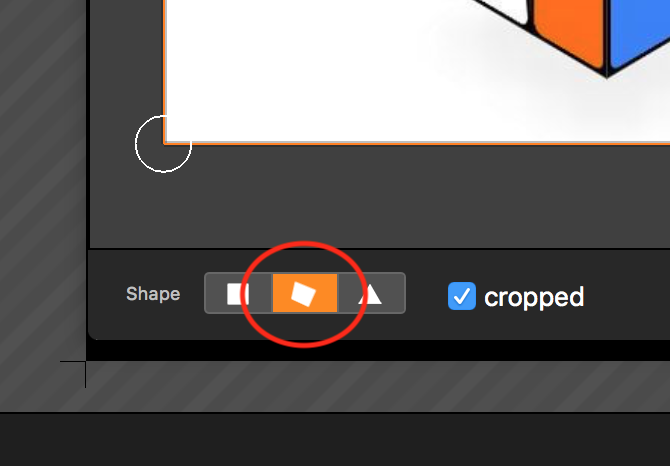
Now, we can adjust its mapping to the zone. Select the mapping tool :
![]()
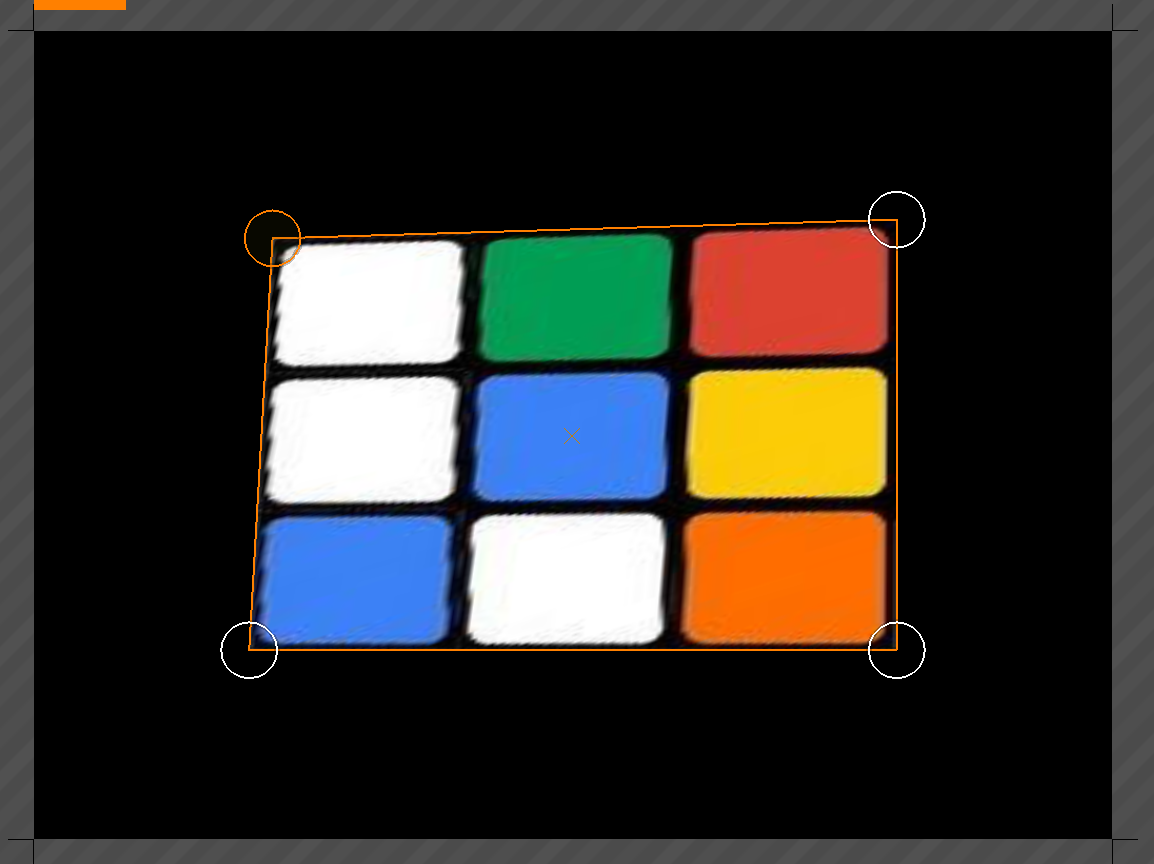
Move your media's corners on the face's corners :
Tips : Here, we use a squared media than we map on a squared face. So the mapping doesn't stretch our media. To avoid stretching, your media should be at the same ratio that the face you map.
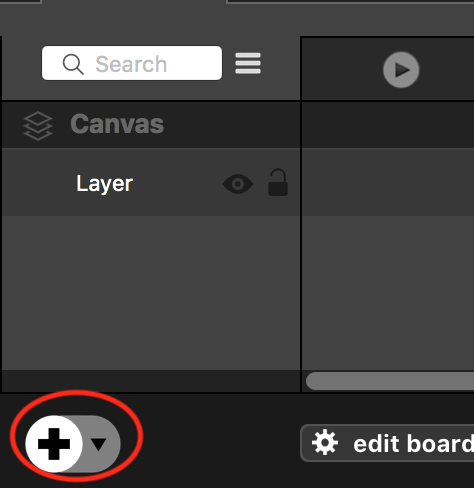
Create a new layer by pushing "CMD+L" on your keyboard, or with the "+" button in the bottom left corner of Millumin :
![]()
You can now repeat the operation for each of the other faces. Note that you can snap the corner you move to another corner when you push "MAJ" on your keyboard :
Tips : if you need to be more precise, you can use the arrows of your keyboard to move your mappings points. Use TABS to switch control.
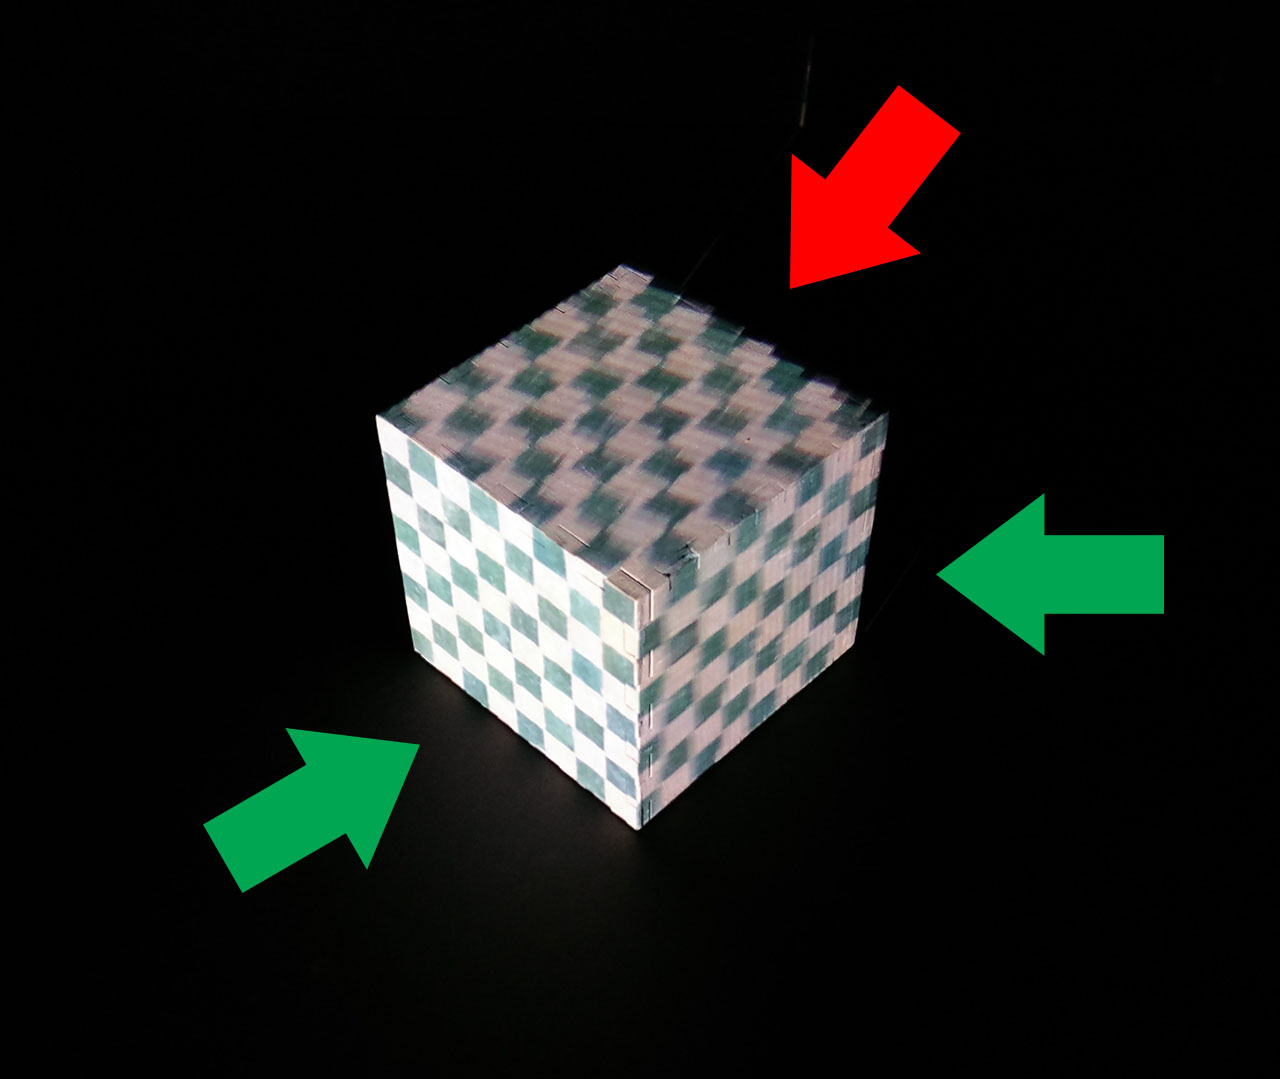
In the end your result should look something like that :
![]()
As you can see, the mapping at the top of the cube is ugly : the pixel are very stretch. This is normal : in this setup, the videoprojector is quite in front of the cube, so cannot very well project on its top, so the stretching. But this is not a problem if your public is also in front of the cube. If it isn't, you have to rethink where you want to place your video projector. Closer the videoprojector is to the public, better will be the projection for them.
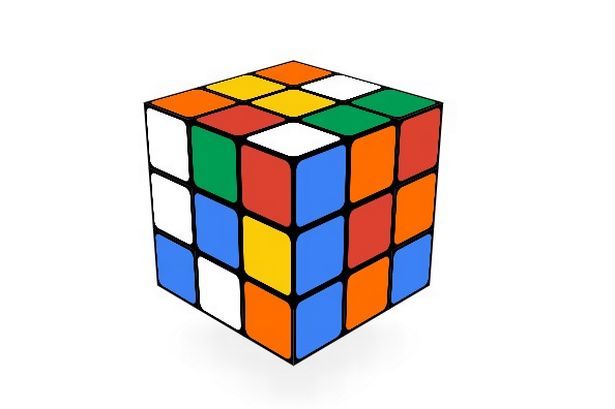
It could be interesting for your graphic designer to not work face per face, but with all the structure at the same time to have a better feeling of he is creating. So he will give you just one media "all in one" :
![]()
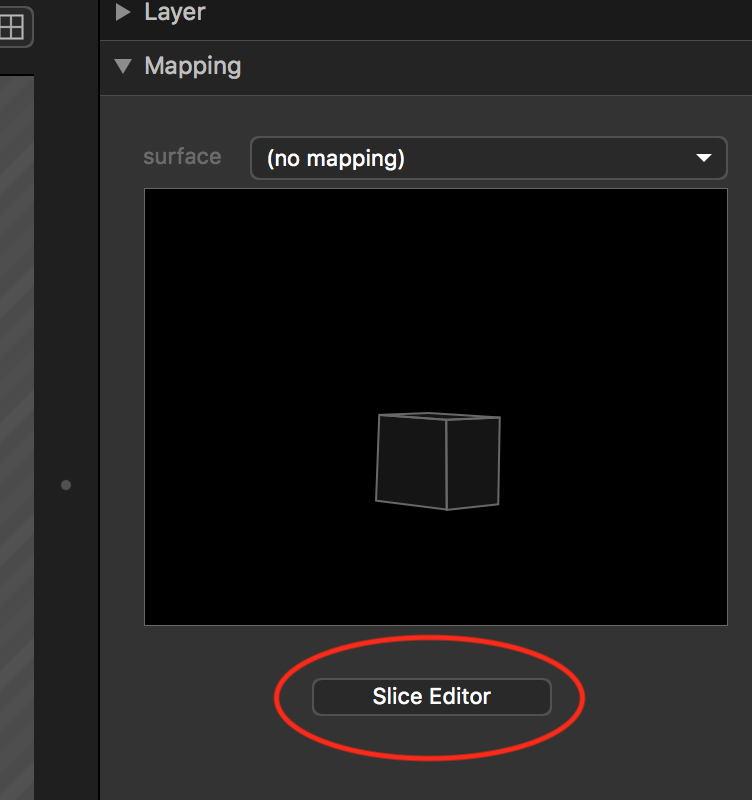
To work with this kind of media, start to add it to a layer. Then, open the slice editor :
![]()
The idea is to "slice" the part of the image we want to map. We will start with the left part. Select the quad mode :
![]()
With the quad, slice the left face of the cube :
In the workspace we now just have the sliced part of the media :
![]()
We can map it on the cube :
![]()
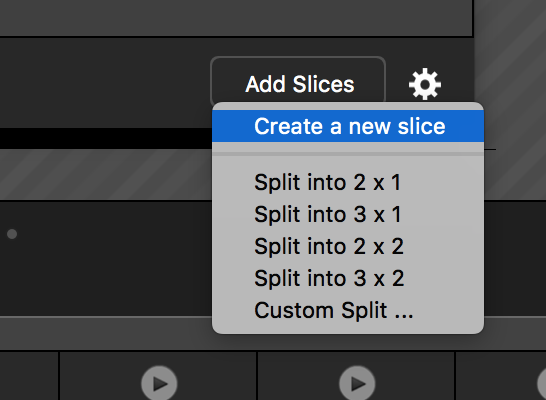
To map another face, we reopen the slice editor. Use the bottom right corner button "add slice" to create a slice. It will create a "copy layer" with a new slice :
![]()
Slice it and map it :
Tips : as in the dashboard, you can snap with MAJ, control the corner with the array keyboards and switch between them with TAB.
In the end, you should have this result :
![]()
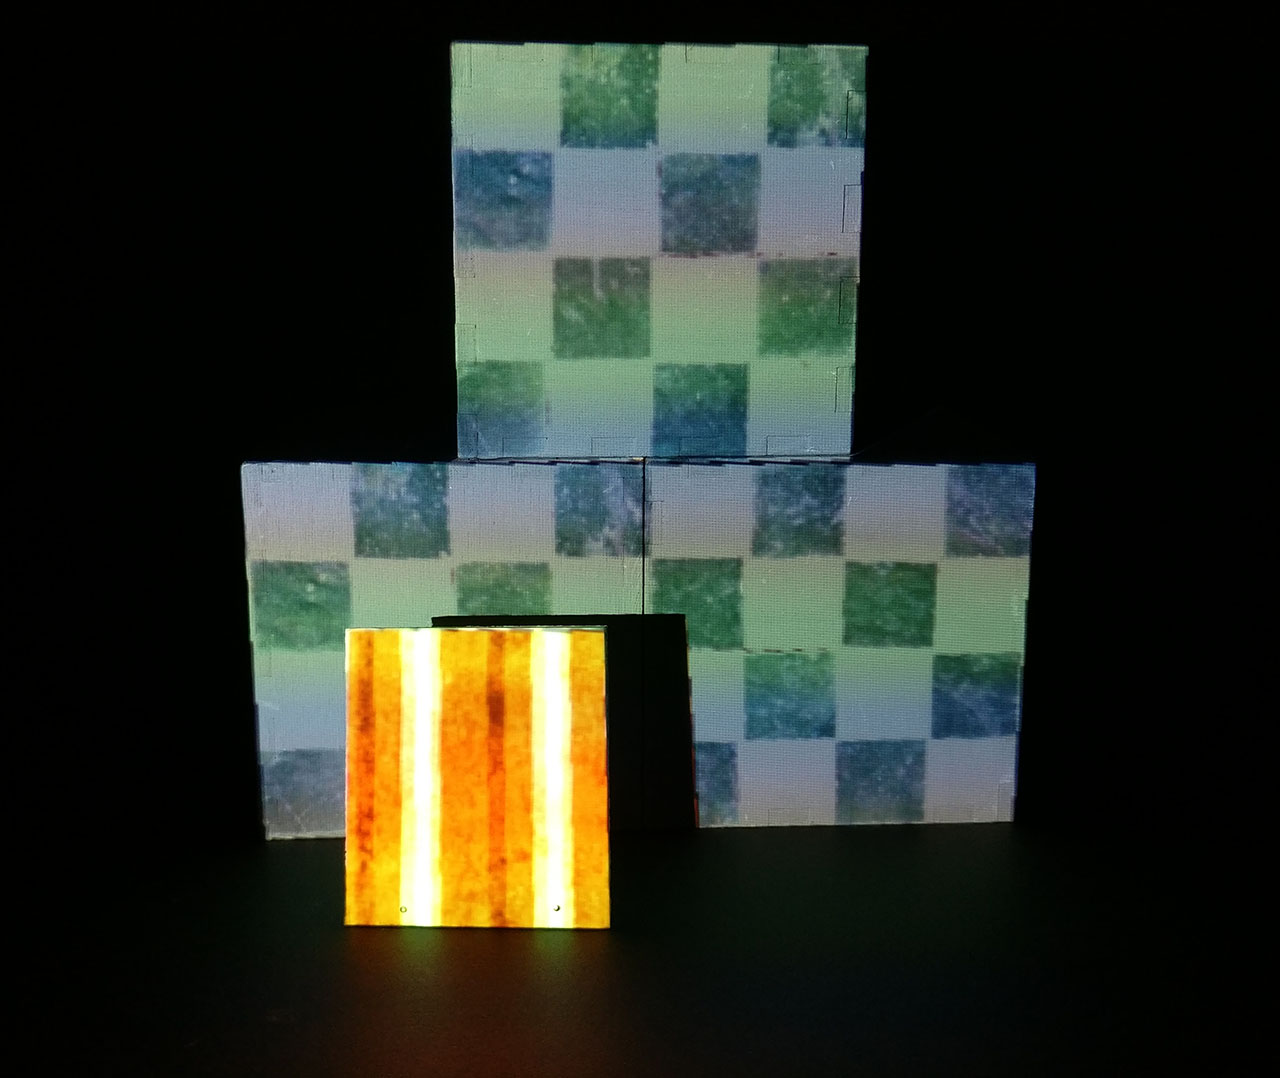
We can now complexify our example by adding a few more cubes and a panel :
![]()
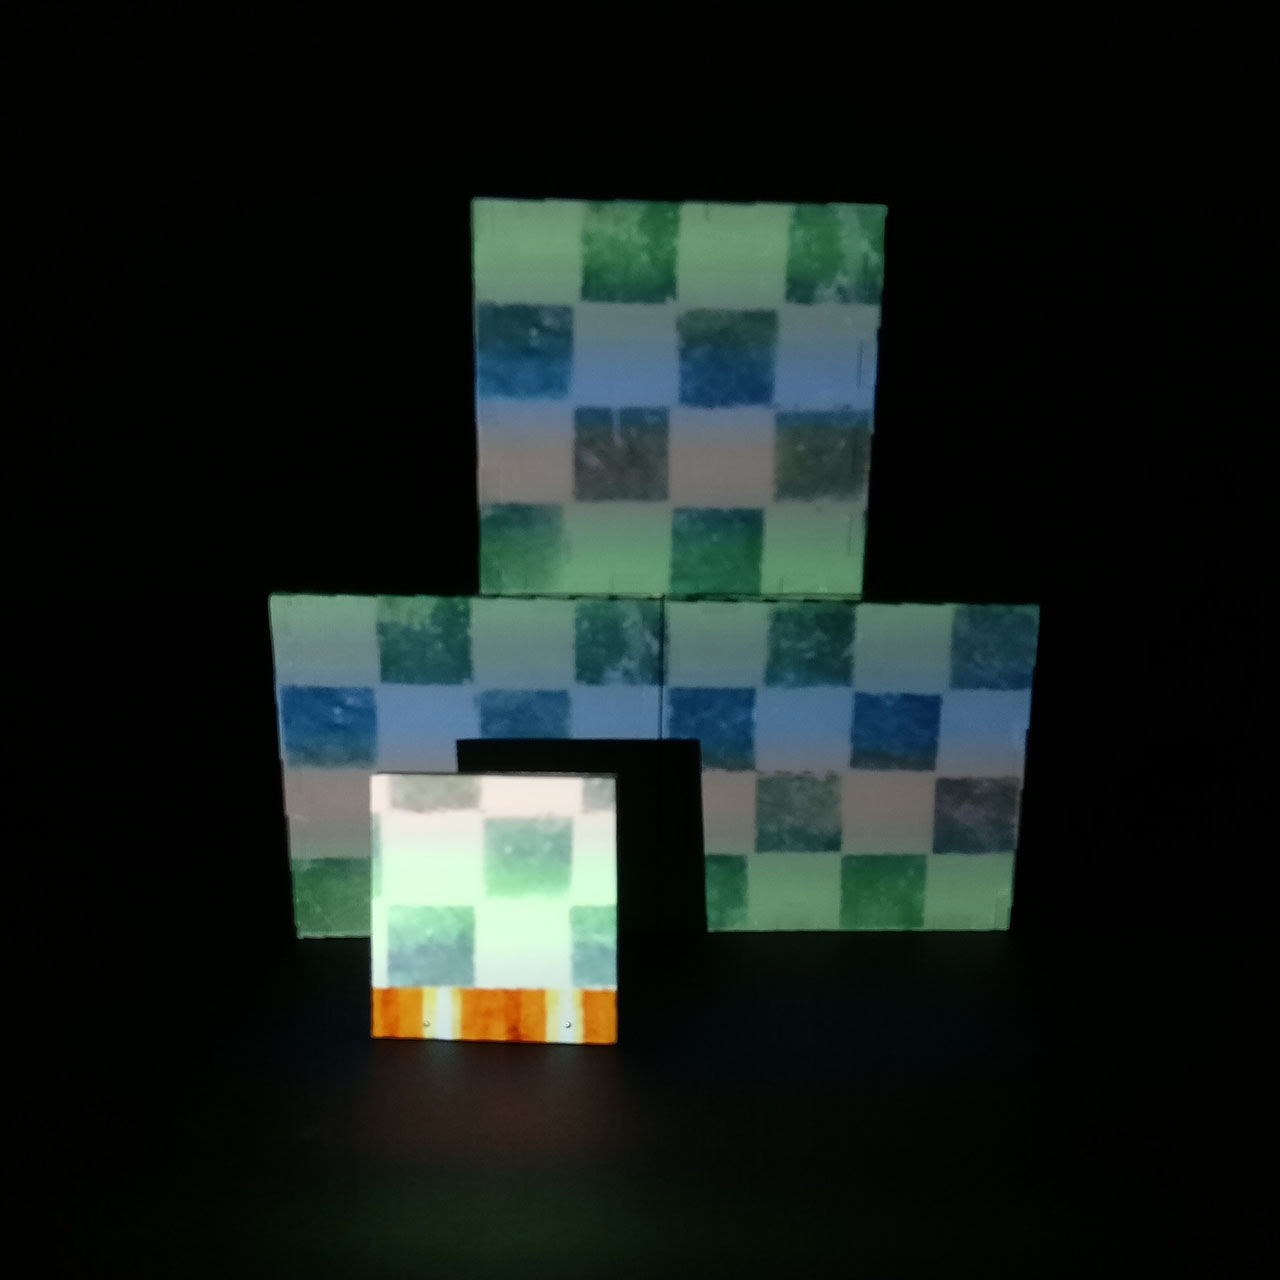
The process to map them is exactly the same than before. But in the end, we may have a problem : a media is covered by another one :
![]()
The first solution is to change the position of our layer : the top layers cover under layers and so hide them :
Sometime, this first solution cannot work. So you can create a mask to hide the unwanted part :
Congratulations, you succeed to make your first mapping :
![]()
You find the 3 sample projects here :
- project1.zip
- project2.zip
- project3.zip

 Millumin Help


